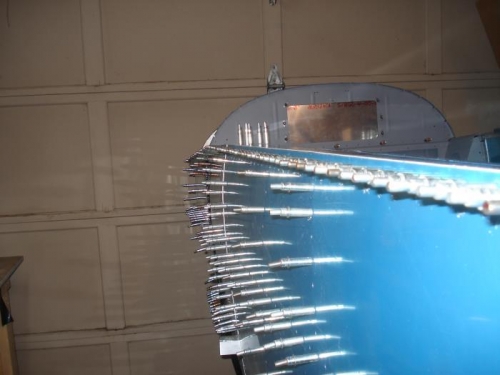
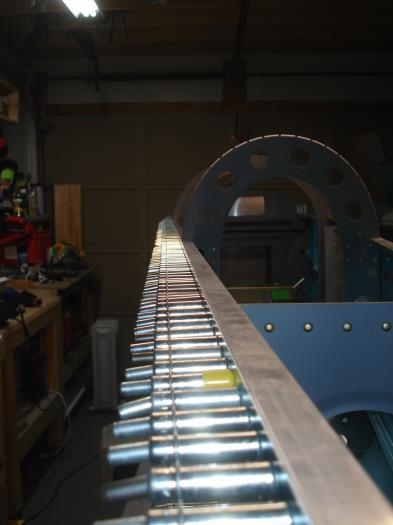
Brief Description: Upper longeron and skin drilling #1
After getting numerous clamps out and making sure everything was tight, the skins were lined up with the longeron vertex, and the upper engine mount brackets were properly secured, I started drilling away with the drill cup. It can't be stressed enough. If you are doing this or coming close to this stage, GET A DRILL CUP! It's worth every penny!.
I made pretty good time with the upper longeron, moving my way to the tail section. I clecoed every hole.
I ensured that all of the tabs to be drilled through were backed by wood.
Once the upper longeron was secured in place, I finals drilled all the #40 and #30 holes on the left side of the fuselage. Tomorrow night, I'll repeat the process for teh right side. I have family coming this weekend, so there won't be much building going on.
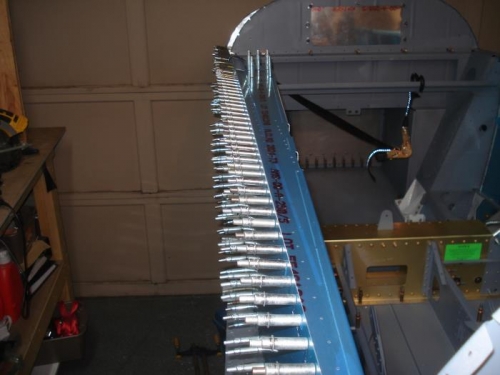
I'm very happy with the results.
Front and mid skins and left longeron riveted in place